
这是一篇photoshop鼠绘教程,主要为大家介绍使用photoshop中的钢笔、路径、渐变和图层混合模式等功能制作一个漂亮的箭头图标。
最终效果

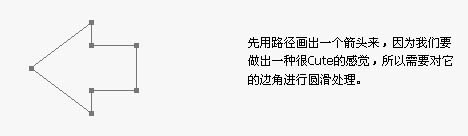
1、先用钢笔勾出一个箭头的路径。
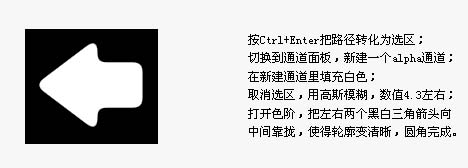
2、按Ctrl + Enter把路径转为选区,切换到通道面板,新建一个通道,然后填充白色,按Ctrl + D取消选区,执行:滤镜 > 模糊 > 高斯模糊,数值为4.3左右,按Ctrl + L调色阶把左右两个黑色三角形箭头想中间靠拢,使得轮廓变清晰,圆角完成。
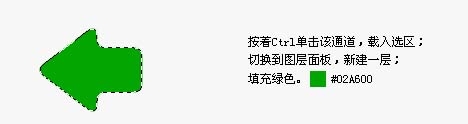
3、按Ctrl点击通道载入选区,回到图层面板,新建一个图层,填充颜色:#02A600。
4、复制该层,并锁定复制层,然后选择渐变工具颜色设置为从:#CCFF2F到#25CA00的渐变,然后拉出径向渐变,并把图层向上移动4个像素。

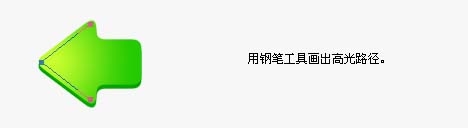
5、用钢笔工具勾出高光路径。
6、新建一个图层,用3像素的硬画笔执行路径描边,然后用橡皮工具擦掉两端部分。

7、勾出一个三角形选区,新建一个图层,选择渐变工具颜色设置为从白色到透明,然后由左向右拉出线性渐变。

8、复制上面的不做的渐变图层,把图层的不透明度改为:68%,并把下面那个渐变层的图层混合模式改为“柔光”。

9、按Ctrl点图标主体载入选区,新建一个图层,执行2像素的描边颜色为:#037B02。

10、在尾部拉出一个2像素高的选区,新建一个图层,用渐变拉出白色到透明的径向渐变,作出尾部高光细节。

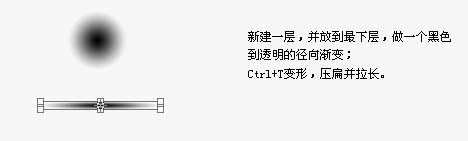
11、新建一个图层,并放到最下层,做一个黑色到透明的径向渐变,然后按Ctrl + T压扁并拉长。
12、放到箭头下面的位置,把图层的不透明度改为:30%,完成最终效果。